A long time ago, in a restaurant far, far away...I was a waitress (and I shouldn't have been because I'm a meanie) someone asked me what a sweet potato was and I said, "An orange potato that's sweet." followed by an unintentional eye roll. I did not get a good tip from that table and you know...good for them. Apparently, I have the customer service skills of a Russian grocery store clerk. If you've ever seen Everything is Illuminated (starring Elijah Wood) you will see all that is wrong with Russian customer service (or well, lack thereof) amongst a 'few' other differences. Here's an example: Being Vegetarian in Ukraine.


Anyway, my point is that a sweet potato IS orange and IS super sweet, perfect for baby! Max's first veggie ever was sweet potato and it seems like it is still his favorite food. You do not have to buy these organic, as they are not part of the 'dirty dozen', but it's all up to you!
I used four sweet potatoes and they yielded A LOT (about 28oz) of food. When picking out these pommes of deliciousness, you want to avoid weird bumps and discoloration.
1. Preheat your oven to 400°.
2. Wash and scrub your taters. Even though you will not be using the skin, I like to make sure all the dirt and the filth it may have accumulated during transport is washed off.

3. Very Important! Poke holes about a quarter of an inch around the potato. FYI: They MAY/WILL explode if you don't poke holes.

4. Wrap your sweet tots in foil, arrange on a cookie sheet, and bake at 400° for 45min. to an hour.

5. Peel the skins off the potatoes. They will come very off easily. Note: Once the sweet potatoes have cooked, the skin will look a bit wrinkly and the potato itself will be soft to the touch and quite sticky from all the excreted sugars. Yum!

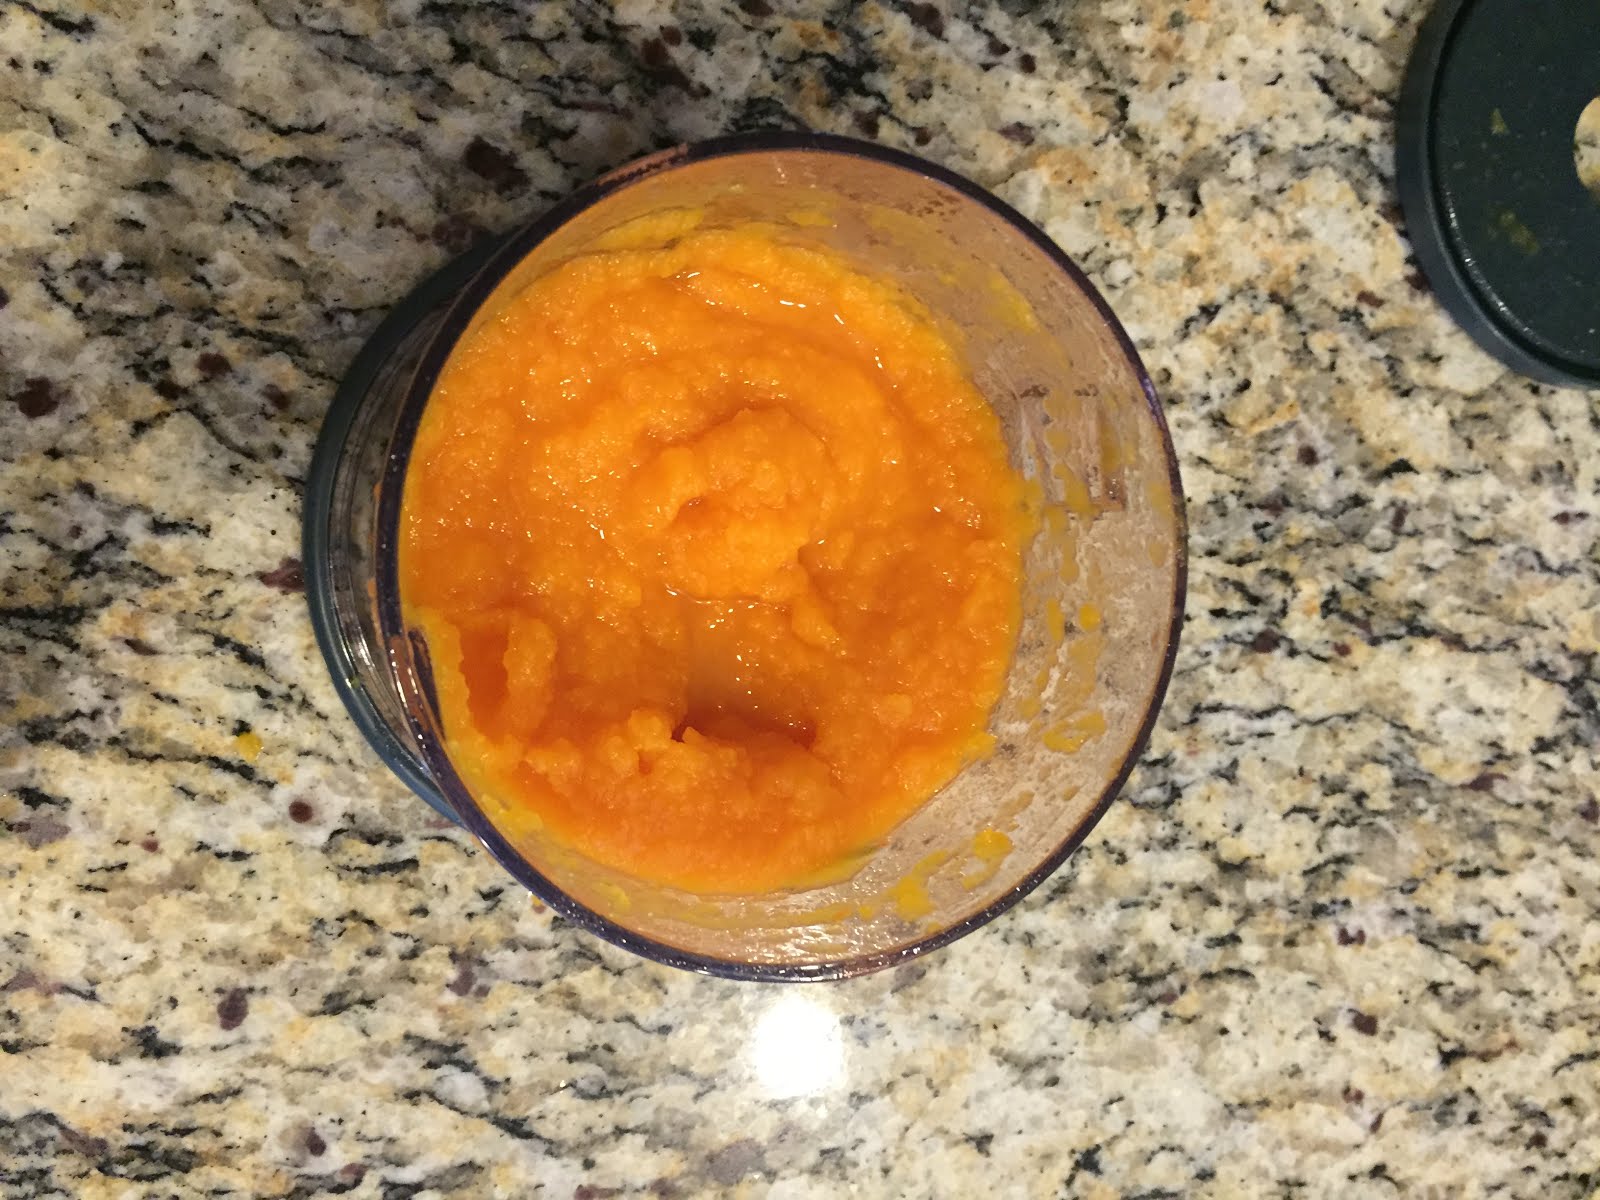
6. Blend with a liquid of your choice. I used breastmilk, it just mixes so well with sweet potatoes. Just remember, if you use breastmilk it is not recommended that you microwave when thawing. I made this batch a bit thicker, but that's because Max is growing and is getting more and more comfortable with thicker foods. Yeah...when I say 'comfortable', I mean he has learned to swallow food, haha.

7. Bon appetit, baby! (Why do I only think of French words when writing recipes???)

My little chunk gets pretty excited about sweet potatoes!

UPDATE: At 7 months and two weeks, sweet potatoes remains Max's favorite food. If I add even a tablespoon of sweet potato puree to anything, he just gobbles it right up. Lately, I've been giving him some oatmeal, sweet potato, and a bit of cinnamon and it's one of his favorites. If you plan on adding a little bit of spice to your life, don't forget to follow the four day rule just like you would when adding new foods.