Showing posts with label Stage 2. Show all posts

Making Stage Two (Stage 2) Baby Food - Green Beans (Steamed)

As Lean as a Green Bean 
Now on to our second légume - the green bean. I'm reverting back to my fhransaize vocabulary. Just kidding, but really. Apparently legumes and vegetables are different foods but in French, the word for vegetable is legume...riddle me that!

Since the massive frozen food recall that has given me nightmares, I purchased my green beans in a cute little bag, fresh, and not organic. I'm sad to report that there was not an organic option at Sprouts....but I must thank them for not using the CRF facility. I steamed these for a little bit longer so that they get extra mushy.


1). Wash the green beans, bring about two cups of water to a boil. You can  chop off the ends/stems of the green beans and steam for about 20 minutes.


2). Cool (and if you're like me, chop off the ends). They look so pretty! Why do they smell like peas to me?

3). Blend (for just a little extra, since the skins are kind of tough)! I added just a splash of water, but they're already pretty watery.

4). Voilà! I pureed what felt like forever, but the green beans were still a bit chunky. I suppose that's why they're a stage 2 food.

Note: A bag of green beans yielded about 24 oz of puree. 

Oh, almost forgot, I haven't posted one of these in a while...

Pup #1 

Pup #2


My pups loved green beans WAY more than Max, that's 'cause we did Doggie-Led Weaning, jk. I found that mixing the green beans with another sweet favorite such as sweet potatoes or squash helped smooth the consistency and probably add a bit of sweetness.


Making Stage Two (Stage 2) Baby Food - Peaches (Baked)

I was pretty excited to finally try peaches for my little peach. Peaches ARE on the 'dirty dozen' list, so I purchased organic. If you've been following this blog, you may have noticed that I mention the 'dirty dozen' a fair amount, but I don't want to come off as too negative so, check out the 'clean fifteen' (fruits and veggies that are NOT chock full of contaminants).

Picking out peaches: I know this is probably redundant, but if you did not grow up picking fruit, it might be helpful. When choosing peaches at the store, pick ones that are a rosy and evenly colored. Since peaches may be hidden from sunlight by leaves, pick ones that have had good sun exposure. Lastly, the peach should not be mushy soft to the touch, but also not too firm.
After looking at various recipes, I chose to bake the peaches instead of steaming them. I tasted one and it was a bit tart, so I figured that baking would help lock in the sweeter flavor. Steaming is definitely faster.

1). Clean your cooking area and wash your fruit. The photo below summarizes why I'm so crazy about washing my fruits and veggies...I feel like fruit skins might as well be covered in edible glue. So annoying! (Just run it under warm/hot water and it will come off.) Obviously I'm worried about pesticides....but those aren't as visible as these neon stickers, haha.


2). Preheat oven to 400°.


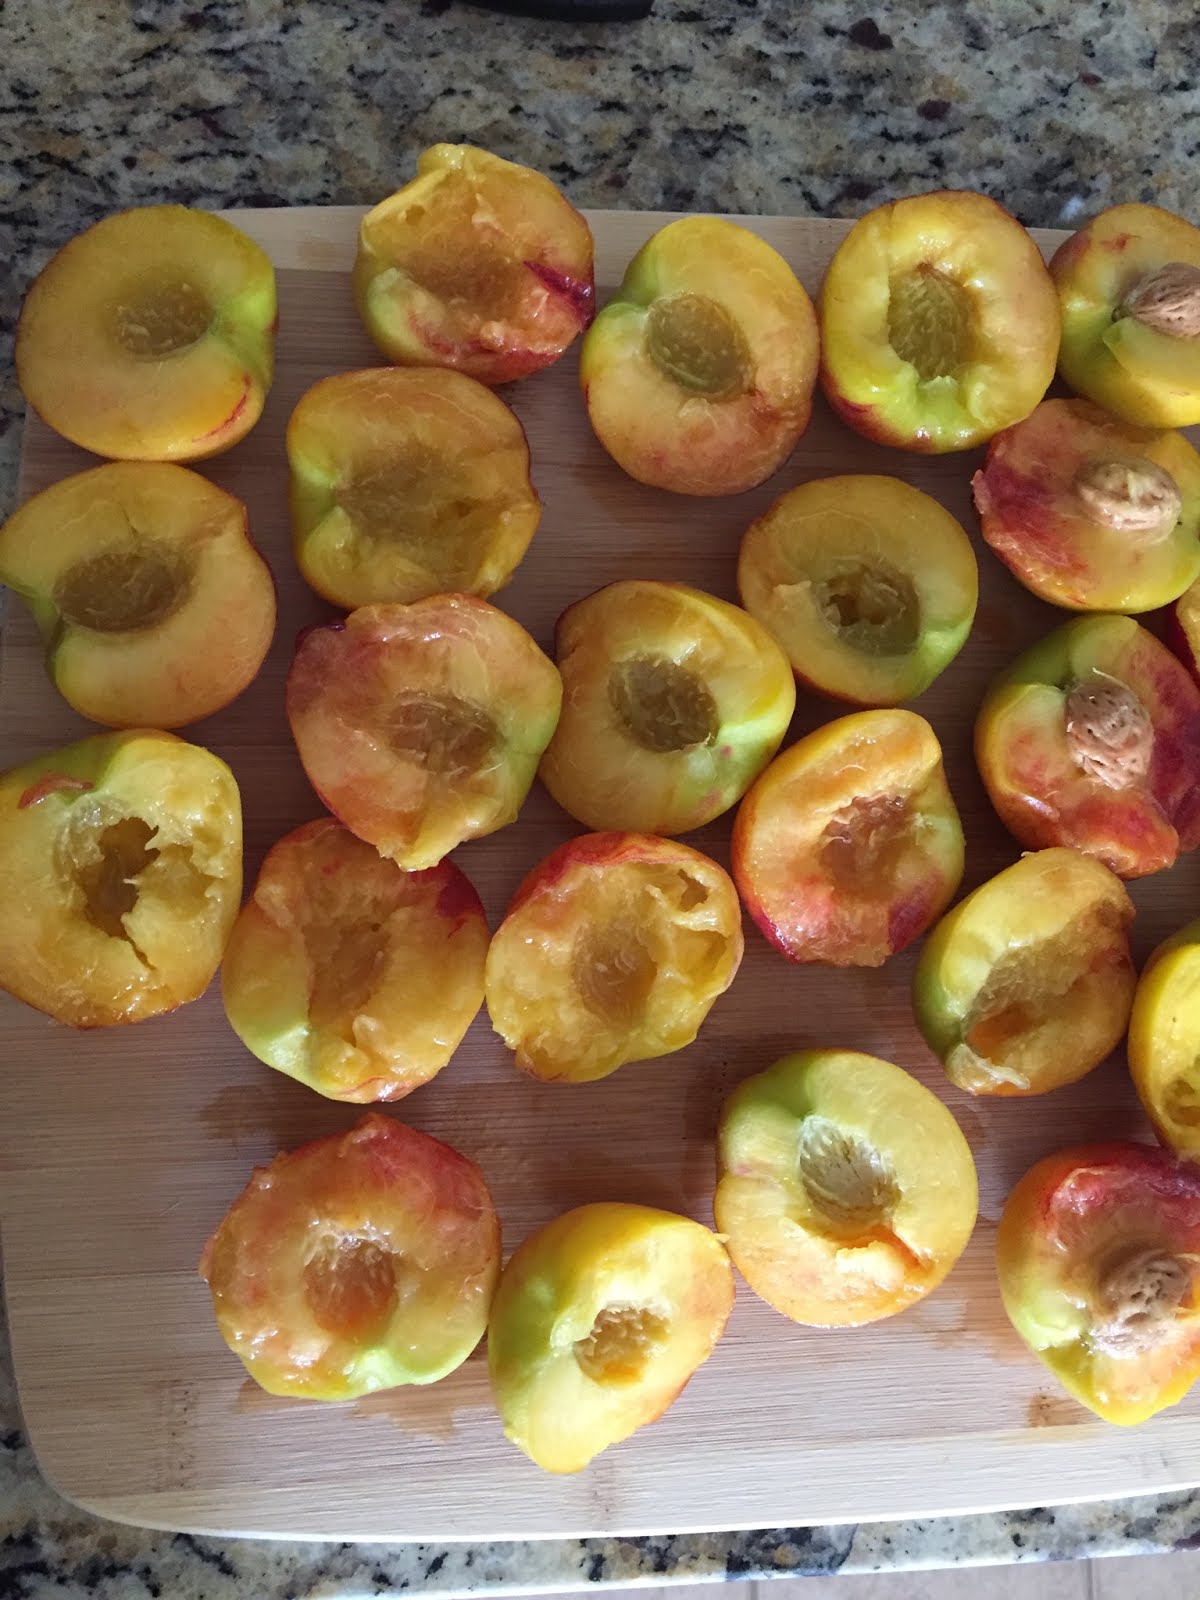
3). Cut peaches in half. Just follow the seam along the fruit and pry open, I mean, separate the halves by twisting. Have you ever had a knot in your yo-yo and were forced to try to get it out from between the halves? Well, to me, separating peaches is exactly like trying to separate a yo-yo by twisting it...while also being super sticky, and did I mention %$#&&*ing impossible?

4). Pit the peach (even more difficult than yo-yo-ing it)...I would skip this step until the peaches are baked.
NOTE: Seriously, wait until it's done baking...unless you enjoy muttering swear words under your breath for 15 minutes.  Once baked, the stone just falls right out! However, if you know of a great method to remove the stone, please share in comments.

Can you tell which halves got 'Lennie Small-ed?'
Yes, that was tots Of Mice and Men reference.

5). Place the halves stone half down in a baking dish and add 3 cups of water.

6). Bake peaches for about 40 minutes. The skin will prune a bit.

7). Remove the skins and stones, if you haven't already. NOTE: You can leave the skins on and blend, but it won't puree as well as the 'meat' of the fruit. If I was cooking for a baby under 6 months, I would remove the skins. I did half and half...I got lazy peeling the skins off, haha. I'm not as meticulous now as I was at first.

8). Blend, add very little to no liquid. I added just a splash of the liquid the peaches baked in.

9). Enjoy!


Baby-Led Weaning (BLW) Update:
For those trying BLW or using peaches as finger food, this would theoretically be a great food to try.
I took off the skin and cut up a peach half in little pieces. Max had no difficulty grasping it and throwing it at the WALL, but very little to none ended up in his mouth. He's so coordinated, that he just chose to impress the dog with his 'feeding' abilities and now the dog basically lives next to the high chair. Oh, well! We'll try again later!


Oh yea, peaches stick to walls WAY better than decals.

Stage 2 Baby Food Blend - Peach & Avocado Puree

As promised, here's the peach & avocado blend 'recipe'. Max loved this blend! The tanginess of the peaches was offset by the creamy avocado. Two delicious fruits blended into one = yummy breakfast!

I used one small avocado and a 2oz peach blend I made earlier. I didn't think Max would eat all of it, but he munched it! 

The blend came out looking more avocado-like, rather than peach-y. I'm guesstimating that it yielded about 4oz of food.

Stage 2 Baby Food Blend - Peach & Banana Puree

NOTE: Please use this recipe once your little one has tried at least one (or both) of these fruits without a reaction.

This turned out to be a great no cook recipe blend. The peaches I baked had a tangy aftertaste, so I figured it would be a great fruit to mix with a little something-something. I'm also thinking that peach and avocado would go well together, too. Stay tuned! We're trying it tomorrow.
I already had some baked peaches I made earlier and one ripe banana. Simply mix the two, and enjoy!
It actually is a great consistency, too. The baked peaches were very soft and the bananas had a few tiny chunks, so they paired together very nicely. 

Making (Stage 2) Baby Food - Asparagus (Steamed)

I know you're all dying to know...did asparagus make my baby's pee smell weird? I don't know, I forgot to check I was too distracted by another issue - constipation! It looked like he pooped green beach pebbles...poor guy!

I cooked just one bunch of asparagus, just to try. I've been reading a lot about BLW (Baby Led Weaning) and said, "What the heck, I'm going to try it." My husband doesn't seem too excited about a second baby (yet), so I'll do the most I can with this one. Also, my husband is definitely not excited about baby led weaning because he thinks LO will choke. Well, I have been 'certified' by the American Red Cross in infant first aid and CPR, so...yeah, I'm going with it #hubbydontreadthis. I will post some pics/video of how our first time turned in another entry.

If you buy an asparagus bunch but choose not to use it that day, wrap the stems in a moist paper towel, or you can even stick the stems in some water. I've read that it's good for about 3-4 days in the refrigerator. My husband LOVES asparagus with lemon and garlic salt, so I cooked Max's as we do ours - save the salt and lemon.

1). Clean your cooking area and wash the asparagus. I went with the 'skinny' asparagus, I like it better than the thicker ones. Plus, they cook faster. Asparagus is not on the 'dirty dozen' list and I did not purchase this organic (I don't think).


2). I think there's some 'bendy' trick you can do, but I just chop half of the asparagus stem off and throw it away. I did a little extra for Max because the closer you get to the bottom, the tougher it is to chew, gnaw, whatever.

3). Bring about three cups of water to a boil, add the asparagus, and cover with lid.

4). Steam for about 15-20 minutes or until the asparagus is soft. Since it was my first time trying BLW, I steamed for the full 20 minutes and checked made sure it was soft throughout. Mine looked like limp green noodles...ahem, that's official cooking terminology for ya ;)

5). Blend! I blended with a bit of breast milk in an attempt to sweeten it up. You can also save some of the liquid that you cooked it in, since the asparagus was fully submerged in the liquid and use that instead. You won't need a lot, maybe and ounce or two.

6). Voilà! Delicious asparagus mush! (Mine came out a bit runny because I accidentally dumped in too much milk.)

One bunch of asparagus yielded 6oz of puree for me (that's with a bit too much liquid). I served it with some sweet potato and it was a hit!