Showing posts with label Steamed. Show all posts

Making Stage Two (Stage 2) Baby Food - Green Beans (Steamed)

As Lean as a Green Bean 
Now on to our second légume - the green bean. I'm reverting back to my fhransaize vocabulary. Just kidding, but really. Apparently legumes and vegetables are different foods but in French, the word for vegetable is legume...riddle me that!

Since the massive frozen food recall that has given me nightmares, I purchased my green beans in a cute little bag, fresh, and not organic. I'm sad to report that there was not an organic option at Sprouts....but I must thank them for not using the CRF facility. I steamed these for a little bit longer so that they get extra mushy.


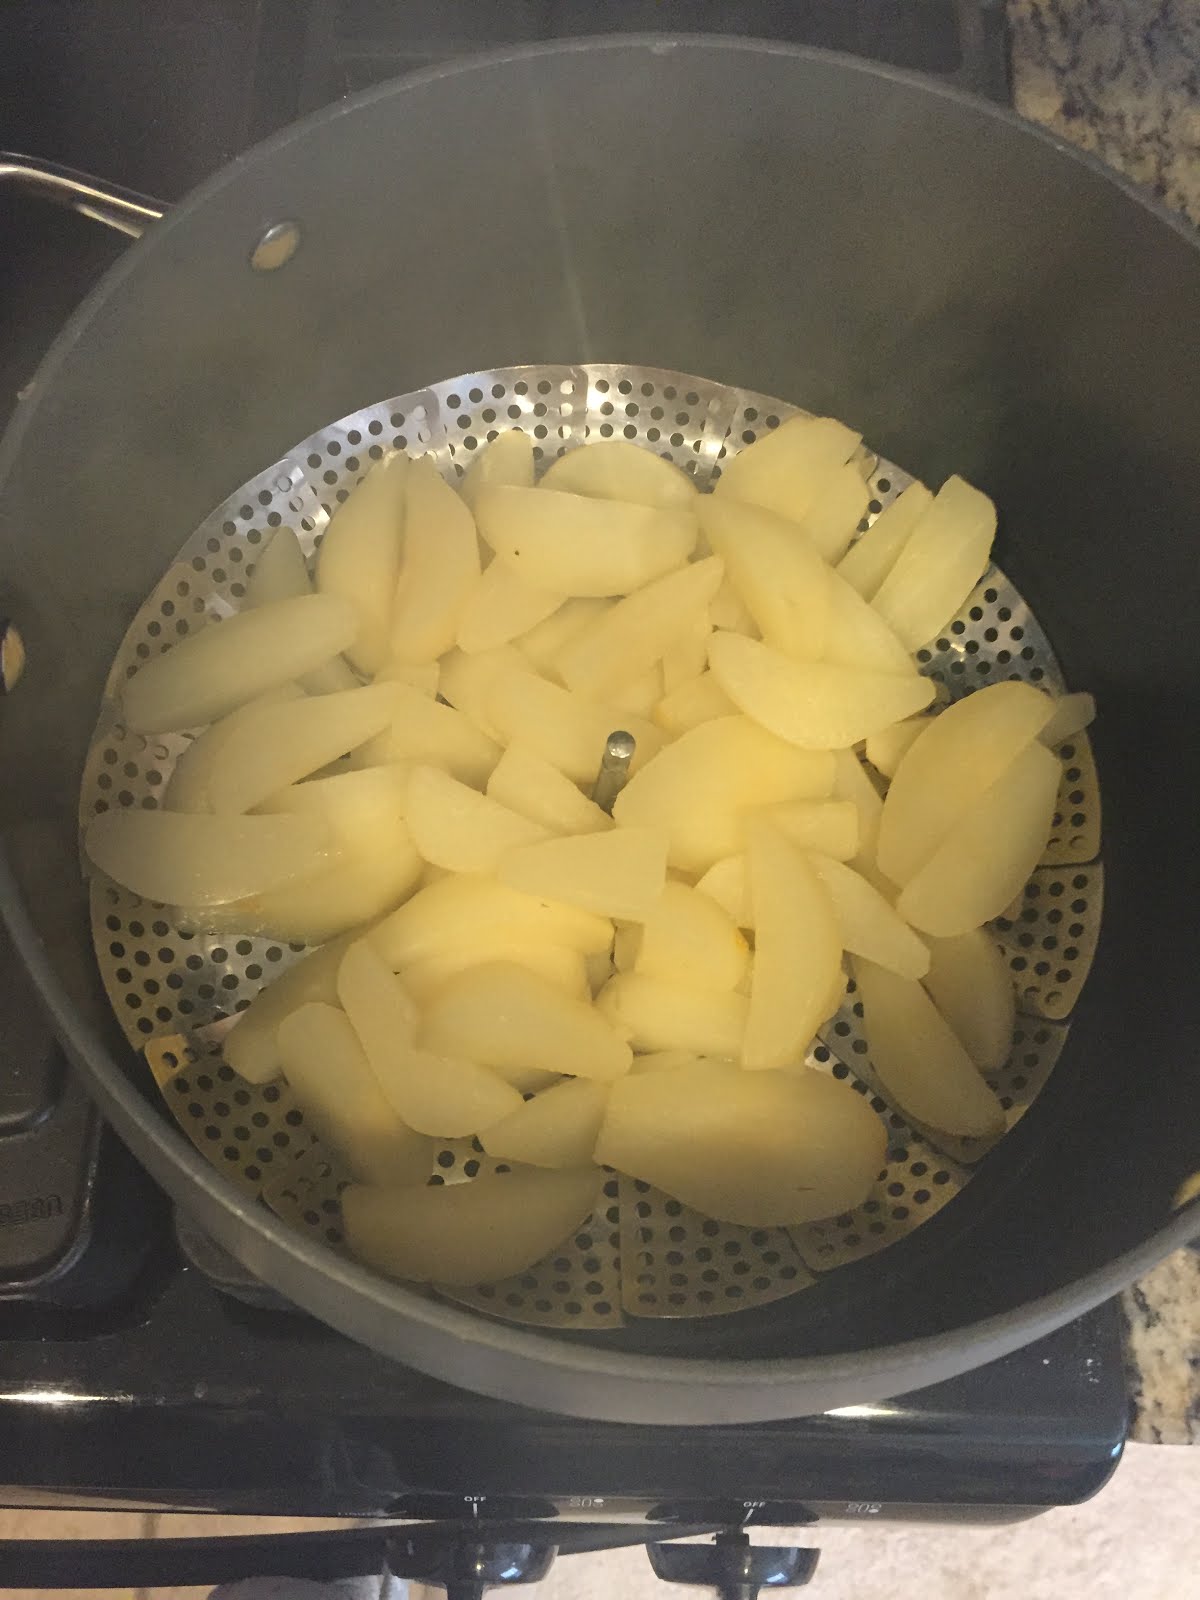
1). Wash the green beans, bring about two cups of water to a boil. You can  chop off the ends/stems of the green beans and steam for about 20 minutes.


2). Cool (and if you're like me, chop off the ends). They look so pretty! Why do they smell like peas to me?

3). Blend (for just a little extra, since the skins are kind of tough)! I added just a splash of water, but they're already pretty watery.

4). Voilà! I pureed what felt like forever, but the green beans were still a bit chunky. I suppose that's why they're a stage 2 food.

Note: A bag of green beans yielded about 24 oz of puree. 

Oh, almost forgot, I haven't posted one of these in a while...

Pup #1 

Pup #2


My pups loved green beans WAY more than Max, that's 'cause we did Doggie-Led Weaning, jk. I found that mixing the green beans with another sweet favorite such as sweet potatoes or squash helped smooth the consistency and probably add a bit of sweetness.


Making (Stage 2) Baby Food - Asparagus (Steamed)

I know you're all dying to know...did asparagus make my baby's pee smell weird? I don't know, I forgot to check I was too distracted by another issue - constipation! It looked like he pooped green beach pebbles...poor guy!

I cooked just one bunch of asparagus, just to try. I've been reading a lot about BLW (Baby Led Weaning) and said, "What the heck, I'm going to try it." My husband doesn't seem too excited about a second baby (yet), so I'll do the most I can with this one. Also, my husband is definitely not excited about baby led weaning because he thinks LO will choke. Well, I have been 'certified' by the American Red Cross in infant first aid and CPR, so...yeah, I'm going with it #hubbydontreadthis. I will post some pics/video of how our first time turned in another entry.

If you buy an asparagus bunch but choose not to use it that day, wrap the stems in a moist paper towel, or you can even stick the stems in some water. I've read that it's good for about 3-4 days in the refrigerator. My husband LOVES asparagus with lemon and garlic salt, so I cooked Max's as we do ours - save the salt and lemon.

1). Clean your cooking area and wash the asparagus. I went with the 'skinny' asparagus, I like it better than the thicker ones. Plus, they cook faster. Asparagus is not on the 'dirty dozen' list and I did not purchase this organic (I don't think).


2). I think there's some 'bendy' trick you can do, but I just chop half of the asparagus stem off and throw it away. I did a little extra for Max because the closer you get to the bottom, the tougher it is to chew, gnaw, whatever.

3). Bring about three cups of water to a boil, add the asparagus, and cover with lid.

4). Steam for about 15-20 minutes or until the asparagus is soft. Since it was my first time trying BLW, I steamed for the full 20 minutes and checked made sure it was soft throughout. Mine looked like limp green noodles...ahem, that's official cooking terminology for ya ;)

5). Blend! I blended with a bit of breast milk in an attempt to sweeten it up. You can also save some of the liquid that you cooked it in, since the asparagus was fully submerged in the liquid and use that instead. You won't need a lot, maybe and ounce or two.

6). Voilà! Delicious asparagus mush! (Mine came out a bit runny because I accidentally dumped in too much milk.)

One bunch of asparagus yielded 6oz of puree for me (that's with a bit too much liquid). I served it with some sweet potato and it was a hit!

Making Stage 1 (Stage 1) Baby Food - Peas (Steamed)

Ugh, peas. I have bad memories associated with peas. Here's why...when I was a kindergartner in what one of my students called, 'Soviet occupied Ukraine' (haha, this still cracks me up! I knew it just as USSR), lunch consisted of two courses. Every so often, the 'first course' was pea kasha (not buckwheat, just mashed peas or something). I HATED it. The lunch lady would make you eat ALL of it in order to get the second course. One time, I remember going up and telling her that I couldn't eat it and she told me to go sit down and finish it. I went up again and told her I didn't want to eat it, and she told me to take two more bites...I took a bite, gagged, and started crying. That was the end of that, I never had to eat pea kasha ever again! Score! I'm pretty sure they didn't tell my parents though.

Well, I finally reached the end of my Stage 1 list and the only veggie left is peas, so here we go! Please learn from my mistakes, just buy frozen peas (maybe organic if you want to make yourself feel better, like me) and NOT fresh peas. I will show you why.

While I was at the store I picked up about a half a pound of fresh peas (I emptied the bin and all I got was a half a pound) and then I thought about how little peas there actually are in there....so I walked over to the frozen section and found some perfectly acceptable frozen peas.
Here's 1 pound  of frozen peas (yield=20oz):


Here's the half a pound of fresh peas (unshucked) (yield=1oz)
Also, it took me a good 15 minutes (at least) to shuck the pods. I guess when they said, "Two peas in a pod." They meant that there are LITERALLY two peas in there. This might be a great activity for LO that are a bit older, they might like it...or this can also be one of those tasks Cinderella's evil step mother made her do.

But they're so pretty!
.

Ok, enough of that, here's the actual recipe.

1). Wash your cooking area and bring about 4 cups of water to a boil (make sure to keep the lid on the pot). If you are not using breastmilk, or formula keep the leftover water (decoction) to blend with. Peas are so small and have tough skins and I've read that it is difficult to get a smooth puree out of them, but mine turned out alright.

2). Steam the peas for about 15-20 minutes, or until soft. I steamed them for a bit longer than what was listed on the package instructions, to make sure the skins were thoroughly .

3). Keep some of leftover liquid to blend with.

4). Blend! Yum, #jklol #peasaregross!

5). The 1lb bag of peas yielded 20oz of food:

Here's my sad little bundle of fresh peas, steaming away into nothing-ness:

And an even more pathetic yield (HALF of the 2oz baby bullet container):
.

NOTE: Max liked the peas. Maybe I'm crazy, but I thought that they weren't that sweet (kind of like avocados), so when I offered it to him on the second day, I added a couple of baby spoons of sweet potatoes and (it made me feel WAY better) he ate them right up. Again, #FTMinsecurities.


Making Stage 1 (Stage 1) Baby Food - Pears (Steamed)

I've been avoiding making peas, I have bad associations with peas. So, pears it is! This week I found that Sprouts (aka Sprouts Farmer's Market) has very inexpensive organic fresh produce options. I'm talking, like, cheaper than 'regular' produce found at groceries store. <insert gaping mouth emoji here>.

I bought these delicious looking pears, they're on the smaller side, but they look picture perfect (not kidding, check it out!). They are rosy, and yellow, and not too squishy. They looked so appetizing I bought almost three pounds worth (10 pears). Pears are not on the 'dirty dozen' (this is the NEW, updated list of dirty produce), so you do not have to buy organic, but you might want to if they look this pretty.

I read that you do not have to cook pears, so that's pretty easy. However, I just couldn't get all the chunks out with an uncooked pear, so I steamed them for about 10 minutes. It wasn't that it was too chunky for baby, but the consistency seemed very uneven to me, so the second time I chose to steam them. Also, I kept a sealed container of uncooked pear overnight in the fridge and it oxidized. It developed a brownish pink top layer and I didn't use it. I'm sure it would have been fine to use, but I just didn't.

1). Clean your cooking area and wash your fruit.


2). Peel the sticky SOBs (Slimy Oval Beauties, silly). Careful, they are SO slippery. My ten pears turned to nine because one slipped out of BOTH my hands and went directly into the trashcan. It's literally like trying to hold on to a wet bar of soap.

3). Remove the core and cut into wedges. Just as with apples and avocados, pears oxidize quickly, so they will turn a bit brown if left out.

4). Place your pear wedges into a steamer with boiling water and cover with lid. I used about three cups of water.

5). Steam for about 15-20 minutes, or until soft.

6). Puree! You do not need to add any liquid, the pears contain a lot of juice and will blend nicely.

7). Like I said earlier, I used nine small pears. They yielded about 22oz of pear puree. 
     Store in the refrigerator for up to 48 hours (some sites say 72), or freeze. 


UPDATE: These suckers gave Max gas. Figures, it's a gassy food....first hit on Google.

Making Stage One (Stage 1) Baby Food - Zucchini (Steamed)

Zucchini 


We are on to our next squash...zucchini! Cooking zucchini is super easy and it's a great veggie to try (I guess technically, it's a fruit, but whatevs). If your baby is less than 6 months old, you may want to remove the skins from the zucchini because younger babies may have a hard time digesting the skins. However, most of the nutrients are found in the skin.

I purchased these organic and the prep is really easy!

1). Wash/clean your food cooking area and the zucchini.

2). The next step is to, cut off the tops and ends of each zucchini.


3). Toss the ends and slice each zucchini into rings.


4). I used my veggie steamer and steamed them in a cup and a half of water for about 20 minutes.


5). Simply blend! No additional liquid needed, as zucchini are pretty watery. They will freeze and look a bit watery, too.


I did not add any liquid and three zucchini's yielded about 13oz.


The one thing to keep in mind is that zucchini is pretty bland in taste. Max ate it, but he didn't LOVE it, I think it might be because it wasn't sweet enough. The next time I offered it, I mixed it with sweet potatoes, which I already know he loves and he ate it up! However, you could always mix with breastmilk or formula, and cereal.

Making Stage 1 (Stage 1) Baby Food - Apples

After introducing four different kinds of veggies, I decided to give my little boy a taste of some fruit. Apples it is! I have to say, this is the EASIEST recipe I've prepared so far. I even had time to take some slow-mo videos of my Vizslas attempting to eat apples.

It is recommended that you purchase organic apples because unlike squash and sweet 'taters apples ARE on the 'dirty dozen' list. I bought a bag (3 pounds) of organic Gala apples. At first it seemed like a lot, but just like carrots, they steamed down to almost nothing. For this recipe, I used eight apples (out of 10) because, you know, my hubby and I should should stay 'healthy' and eat apples, too. In reality, they will probably just hang out in the fridge until they get mushy (and that better be soon because they're supposed to be organic and all).

1). Clean everything you will be using to prepare the baby food and wash, wash, wash your healthy looking apples. I had a good batch that didn't have any bruising or discoloration.

2). You can start heating up the water with which you will steam the apples to save some time. I used about 2 cups of water, a large pot, and the super handy steamer basket.

3). Peel the skins and slice the apples. I used an apple cutter/wedger/divider and it worked like a charm. If you've ever used an apple cutter, I'm sure you know that the trick is to make sure the cutter slices straight down evenly, otherwise you might be left with part of core (ick).

4). Place the apple wedges into the pot of boiling water, cover with a lid, and steam for about 20 minutes. The apple wedges will shrivel up a bit and come out looking like this:
5). Place the steamed apple wedges into a blender of your choice. I used about 2/3 of a cup of purified water. I'm still using my Ninja, it's just SO FAST and I don't have to tip or shake anything. No technique needed!

6). 15 seconds later we have apple purée!

7). Here's my favorite use of the Baby Bullet...the little 2oz containers! I put two in the refrigerator because we will use those for the next two days and I am freezing the rest. I ended up with 16oz of apple purée with this batch. Easy peasy apple puréezy!
 

UPDATE: In the morning, I've been giving Max apples and oatmeal for a couple of weeks now and he devours it! I also just read that after 6mo. you can also start introducing some spices. The other day I added a little bit (literally a tiny pinch) of cinnamon to his apples and oatmeal and he seemed to have really liked it. I also read that some people give cinnamon sticks to teething babies and it calms them down very quickly. I, personally, have not tried this but it is an interesting idea.

I waited until everyone went to bed to make this, but one lazy hound dragged his butt out of bed to see what I was up to. 


Seconds later, the other hound came bounding into the kitchen...but she was obviously too sleepy to think clearly. Dog #1 was back in bed before Dog #2 found her apple wedge.

Making Stage One (Stage 1) Baby Food - Carrots


Here's our super easy recipe for a carrot puree (steamed):

I purchased some organic carrots, even though they are not on the list of the 'Dirty Dozen' (the fruits and veggies with the most pesticides on them). However, when it comes to baby food, I think organic is the way to go.
NOTE: Unlike sweet potatoes and squash, the return on carrots is not as great. I purchased one pound of carrots and cooked about half the bag and I thought I would have tons of carrots, but I ended up with about 12oz of baby food (about 6 servings).


1). Bring about one cup of water to a boil, make sure the pot is covered with a lid. Wash, peel, and chop off the ends of your carrots.2). Next, chop your carrots into relatively thick rings and place into the pot. Depending on the thickness and the amount of carrots the steaming time will vary slightly. I check after 20 minutes. If you can easily cut the thickest piece in half with a spoon, it's done!


3). Here's the fun part...blending! Place your steamed carrots into the 'blender' of your choice.

After experimenting with several blenders, I really just love using my Ninja Food Chopper. It's super fast and easy to use. We have a nice blender which we hardly ever use and I bought the Magic Baby Bullet, which is only magical for the containers so far (they're so stinking cute). If I had a do-over, I would have just saved the money and stuck with the Ninja, but, alas, I'm a First Time Mom. I bought the Ninja for $15 at Fry's four years ago and it's saved me COUNTLESS HOURS in the kitchen and now it's saving me time yet again.
 

3). I add a bit of breastmilk to the mix (no pun intended), but you can add some water or a liquid of your choice.


4). And voilà, baby carrot purée made! (Yes, we are now French cuisine experts and need the lingo to match.)


5). Like I mentioned earlier, I didn't get that much baby food out of this batch. You can either store your purée in the refrigerator (good for up to 48 hours, some say 72 max), or freeze. I have been cooling on the counter for about 20 minutes, then transferring the freezer friendly containers to the refrigerator for a few hours, and then freezing in the freezer.


These are 2oz silicone ice cube trays, so essentially 6 carrots yielded 7oz of baby food. Perfect if you are introducing for the first couple of days!